A Portrait on a Headstone: Choosing a Photograph for Engraving, Glass or Ceramic
A portrait is often the most personal detail on a headstone. To preserve the gaze, expression and person you remember, start with the right photo and carefully approve how it works with the material and layout.
Contents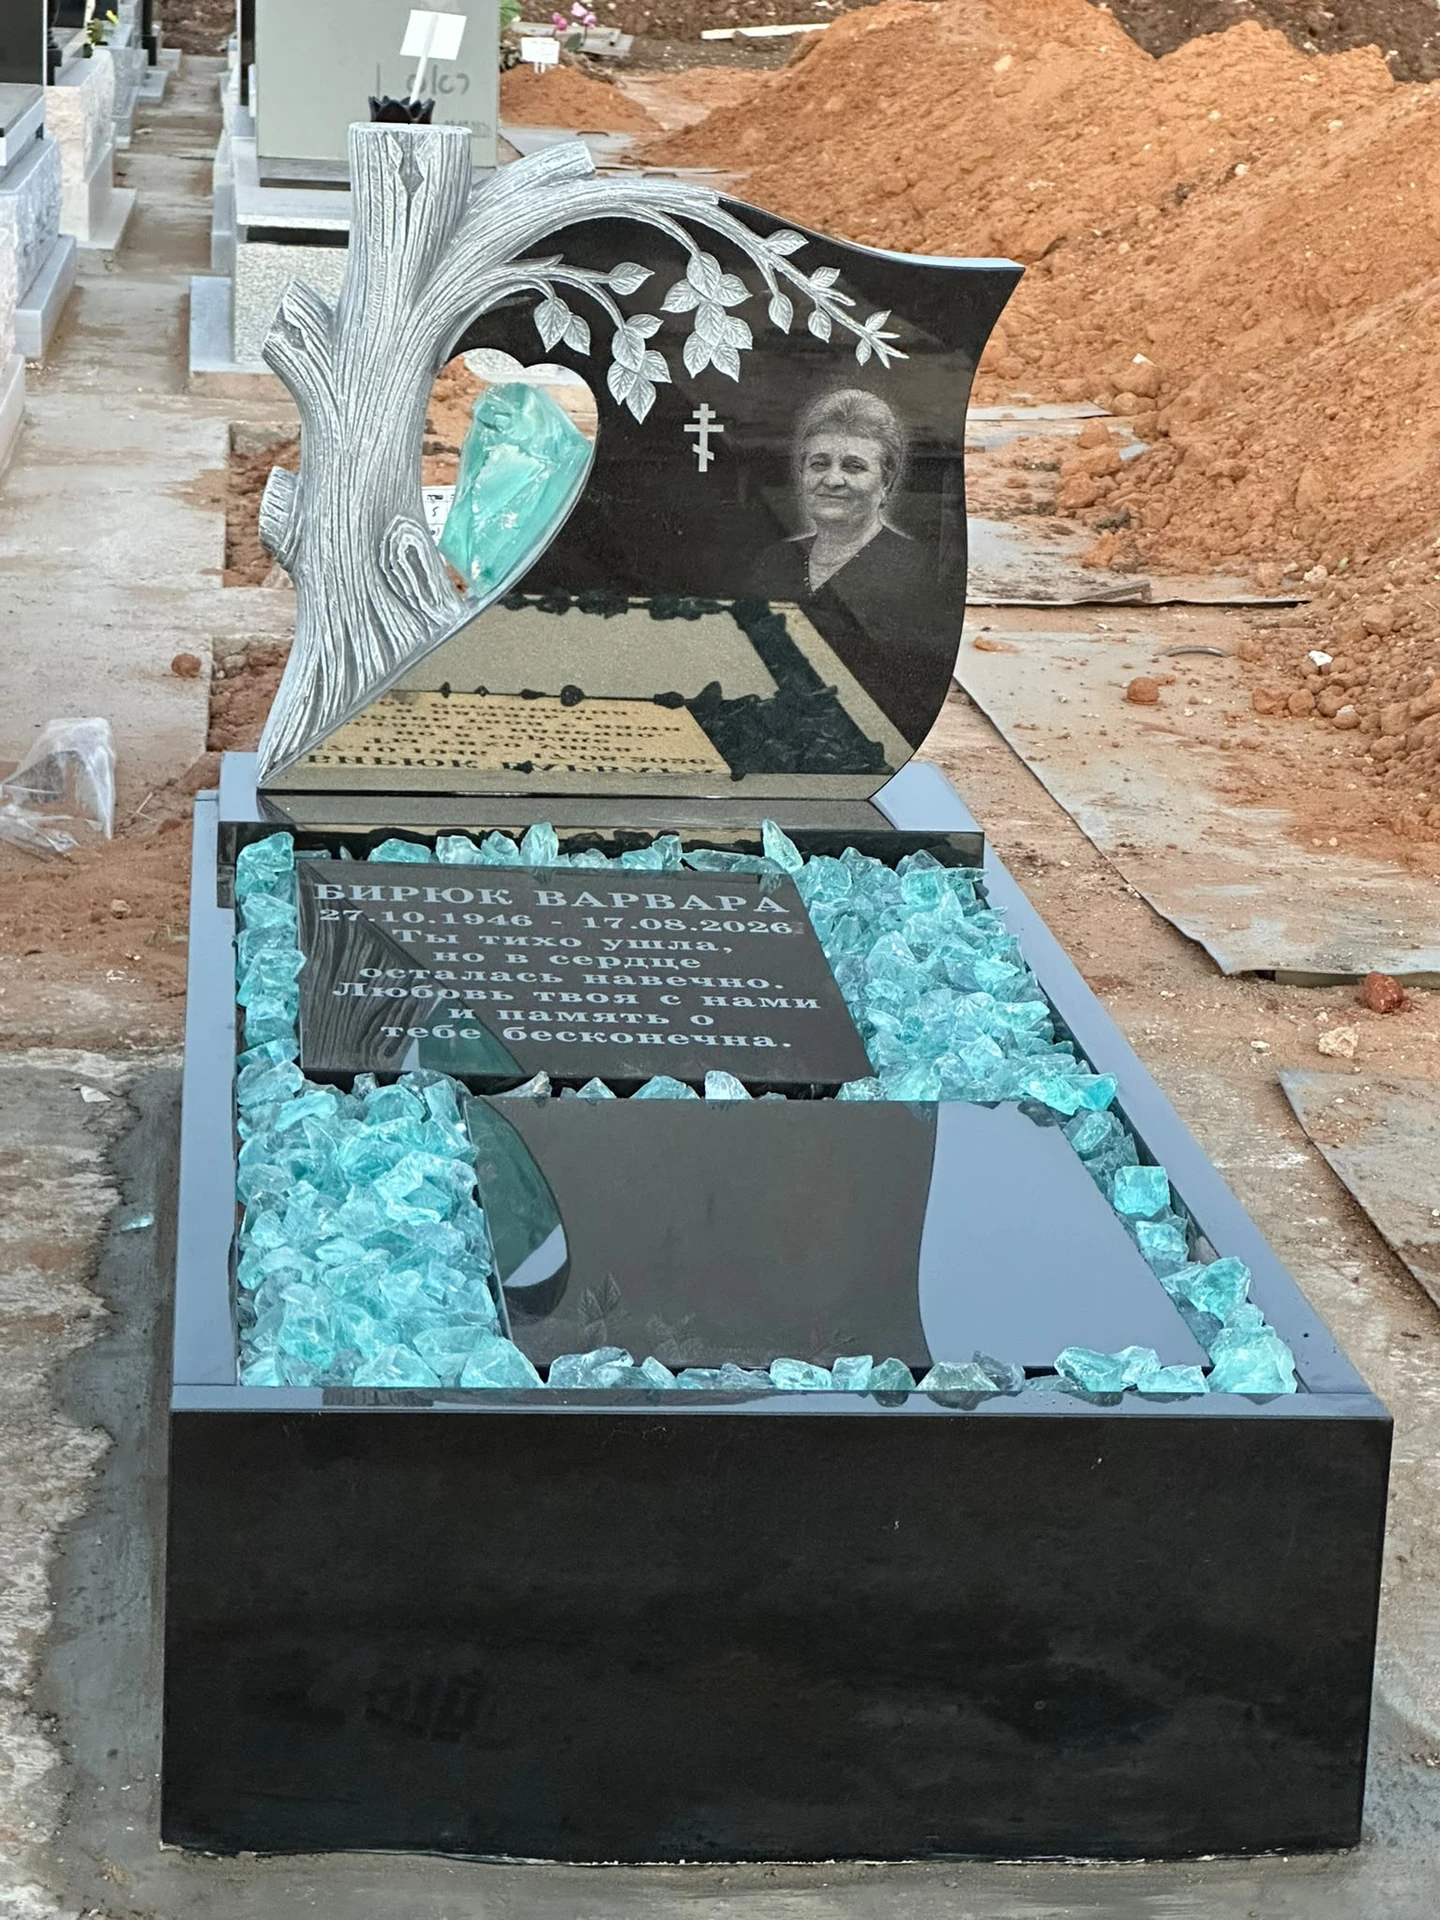
A photo that feels right to the family
A clear face and a high-quality file
Portrait, material and layout at the right size
Contents 13 sections
Begin with the Person, Then Choose the Technique
The sharpest photograph is not always the one that feels right to the family. A familiar smile or expression in a simple snapshot may capture the person better than a formal portrait. Begin with a few photographs that feel meaningful: which shows them as you want to remember them? Then check which options will work at the proposed size and in the chosen material. Both emotional connection and technical quality matter; compare alternatives before choosing.
Keep a shortlist of two or three photographs and choose one person to collect the family’s comments. Decide whether you want a close portrait, a half-length view or a moment that says something about the person’s life. A familiar object or background can be meaningful, but may disappear at a small size. Identify what must remain clear and what could instead be represented by a separate symbol.
A portrait is not essential to every headstone. A name, phrase, shape or material can also express a personal connection. If you do choose a portrait, plan its place from the start rather than fitting it into leftover space. This guide explores engraving, ceramic and glass; the suitability and availability of each method are confirmed with Rubi for the particular project.
Finding the Best Original Photograph
Before sending a screenshot from a conversation, look for the original photograph on a phone, computer, with a relative or with the photographer. Repeatedly shared copies may contain less detail even when they look fine at a small size. The original allows more scope for cropping, subtle correction and adaptation to the material. Send it as a file and identify any versions that have already been edited.
If you only have an old print, preserve it and consider a professional scan rather than a tilted photograph with reflections. The porcelain portrait maker Photo-Ceramica — opens in a new window also recommends a clear original and scanning original prints where possible. Rather than guessing scan settings, tell the operator the intended portrait size and request a file suitable for editing, keeping an untouched copy.
Keep the original untouched and save edits under a new name. Send any restored version alongside its source so changes to expression or detail can be checked. For a group photograph, send the whole image even if you have marked the person to be used. Make the final crop after the portrait’s shape and size have been agreed.
Sharpness, Pixels and Size: What Matters?
Resolution alone does not tell the whole story. A large file can still be blurred, and a face cropped from a group photograph may contain only a small share of its detail. Inspect the face itself: the eyes, mouth, hair and detail in light and dark areas. Enlarging the file cannot necessarily recover information that the camera never captured.
Suppose a wide photograph shows several people and the chosen face occupies only a small part. The whole photograph's pixel count is not the cropped portrait's resolution. That difference matters when enlarging it. This is an illustration, not a universal numerical threshold: assess the actual crop, production size and chosen technique.
DPI also needs context. Changing this number without adding real image detail does not make a face sharper. Ask the maker to assess whether the file works as supplied, whether the portrait should be smaller or whether another photograph would be better. Expect an assessment for the planned result, not a blanket promise of unlimited enlargement.
Three Ways to Include a Portrait
Stone engraving, ceramic portraits and images incorporated into glass differ in appearance, production and installation. Each includes several methods and quality levels. “An image on glass” or “laser engraving” is therefore not a complete specification: ask what will be made, from which material, at what size and how it will be fitted. Compare the actual products offered.
| Option | Visual character | What to check first |
|---|---|---|
| A portrait engraved or worked into stone | An image formed by contrast, colour and stone texture | Stone compatibility, a finished sample, detail and readability in daylight |
| A ceramic or porcelain portrait | A distinct image panel, in colour or greyscale depending on the product | Production process, outdoor suitability, edges and fixing method |
| A photograph incorporated in glass | Transparency, depth or another visual layer, depending on the technique | Glass type, image technique, background, reflections, edges and anchoring |
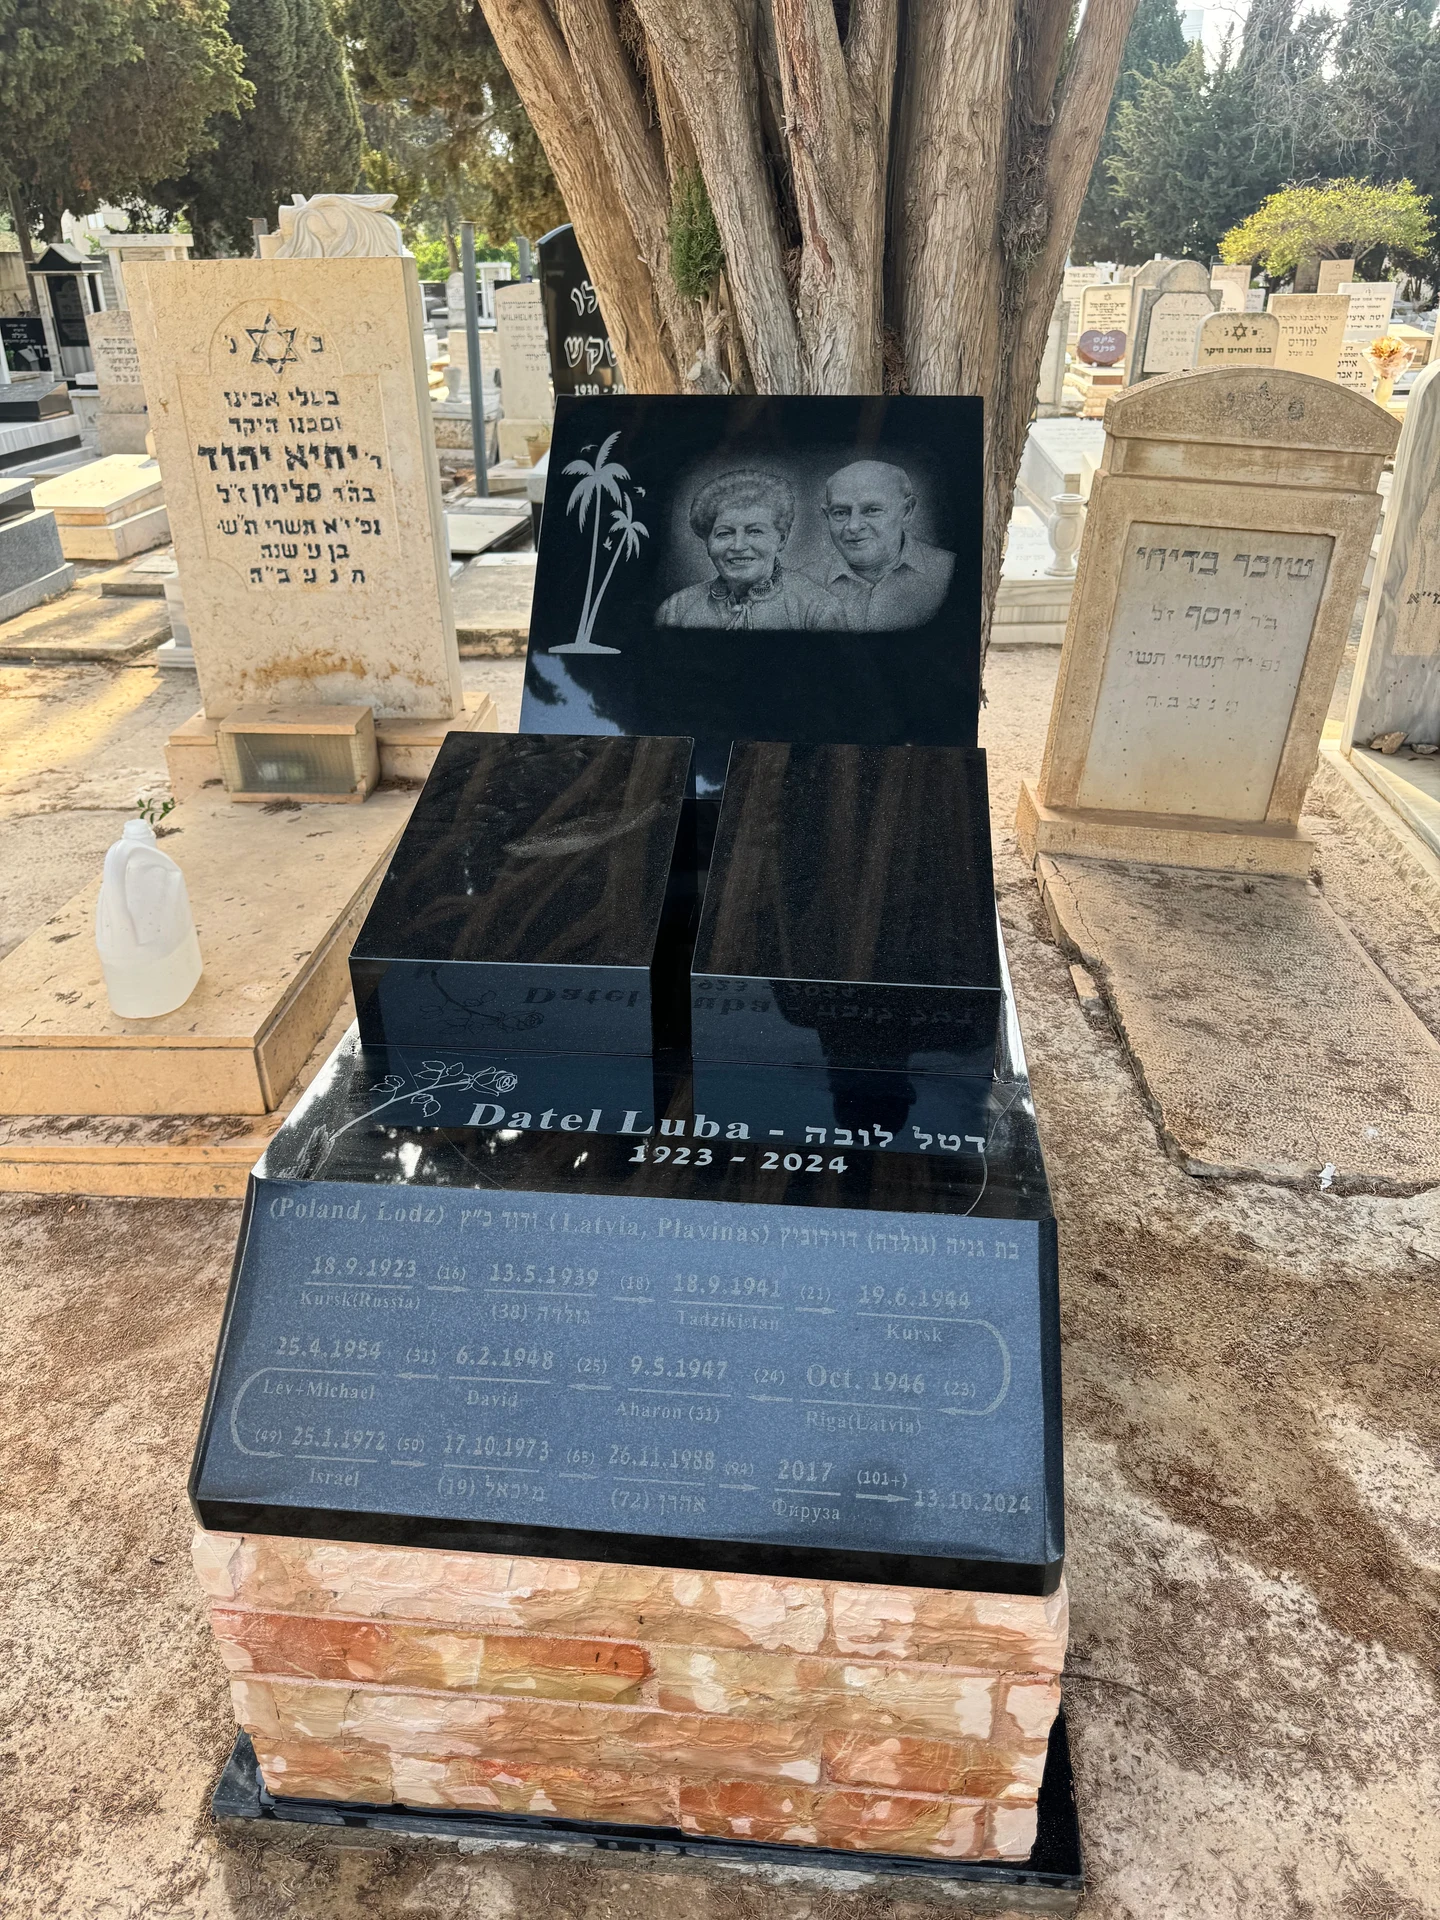
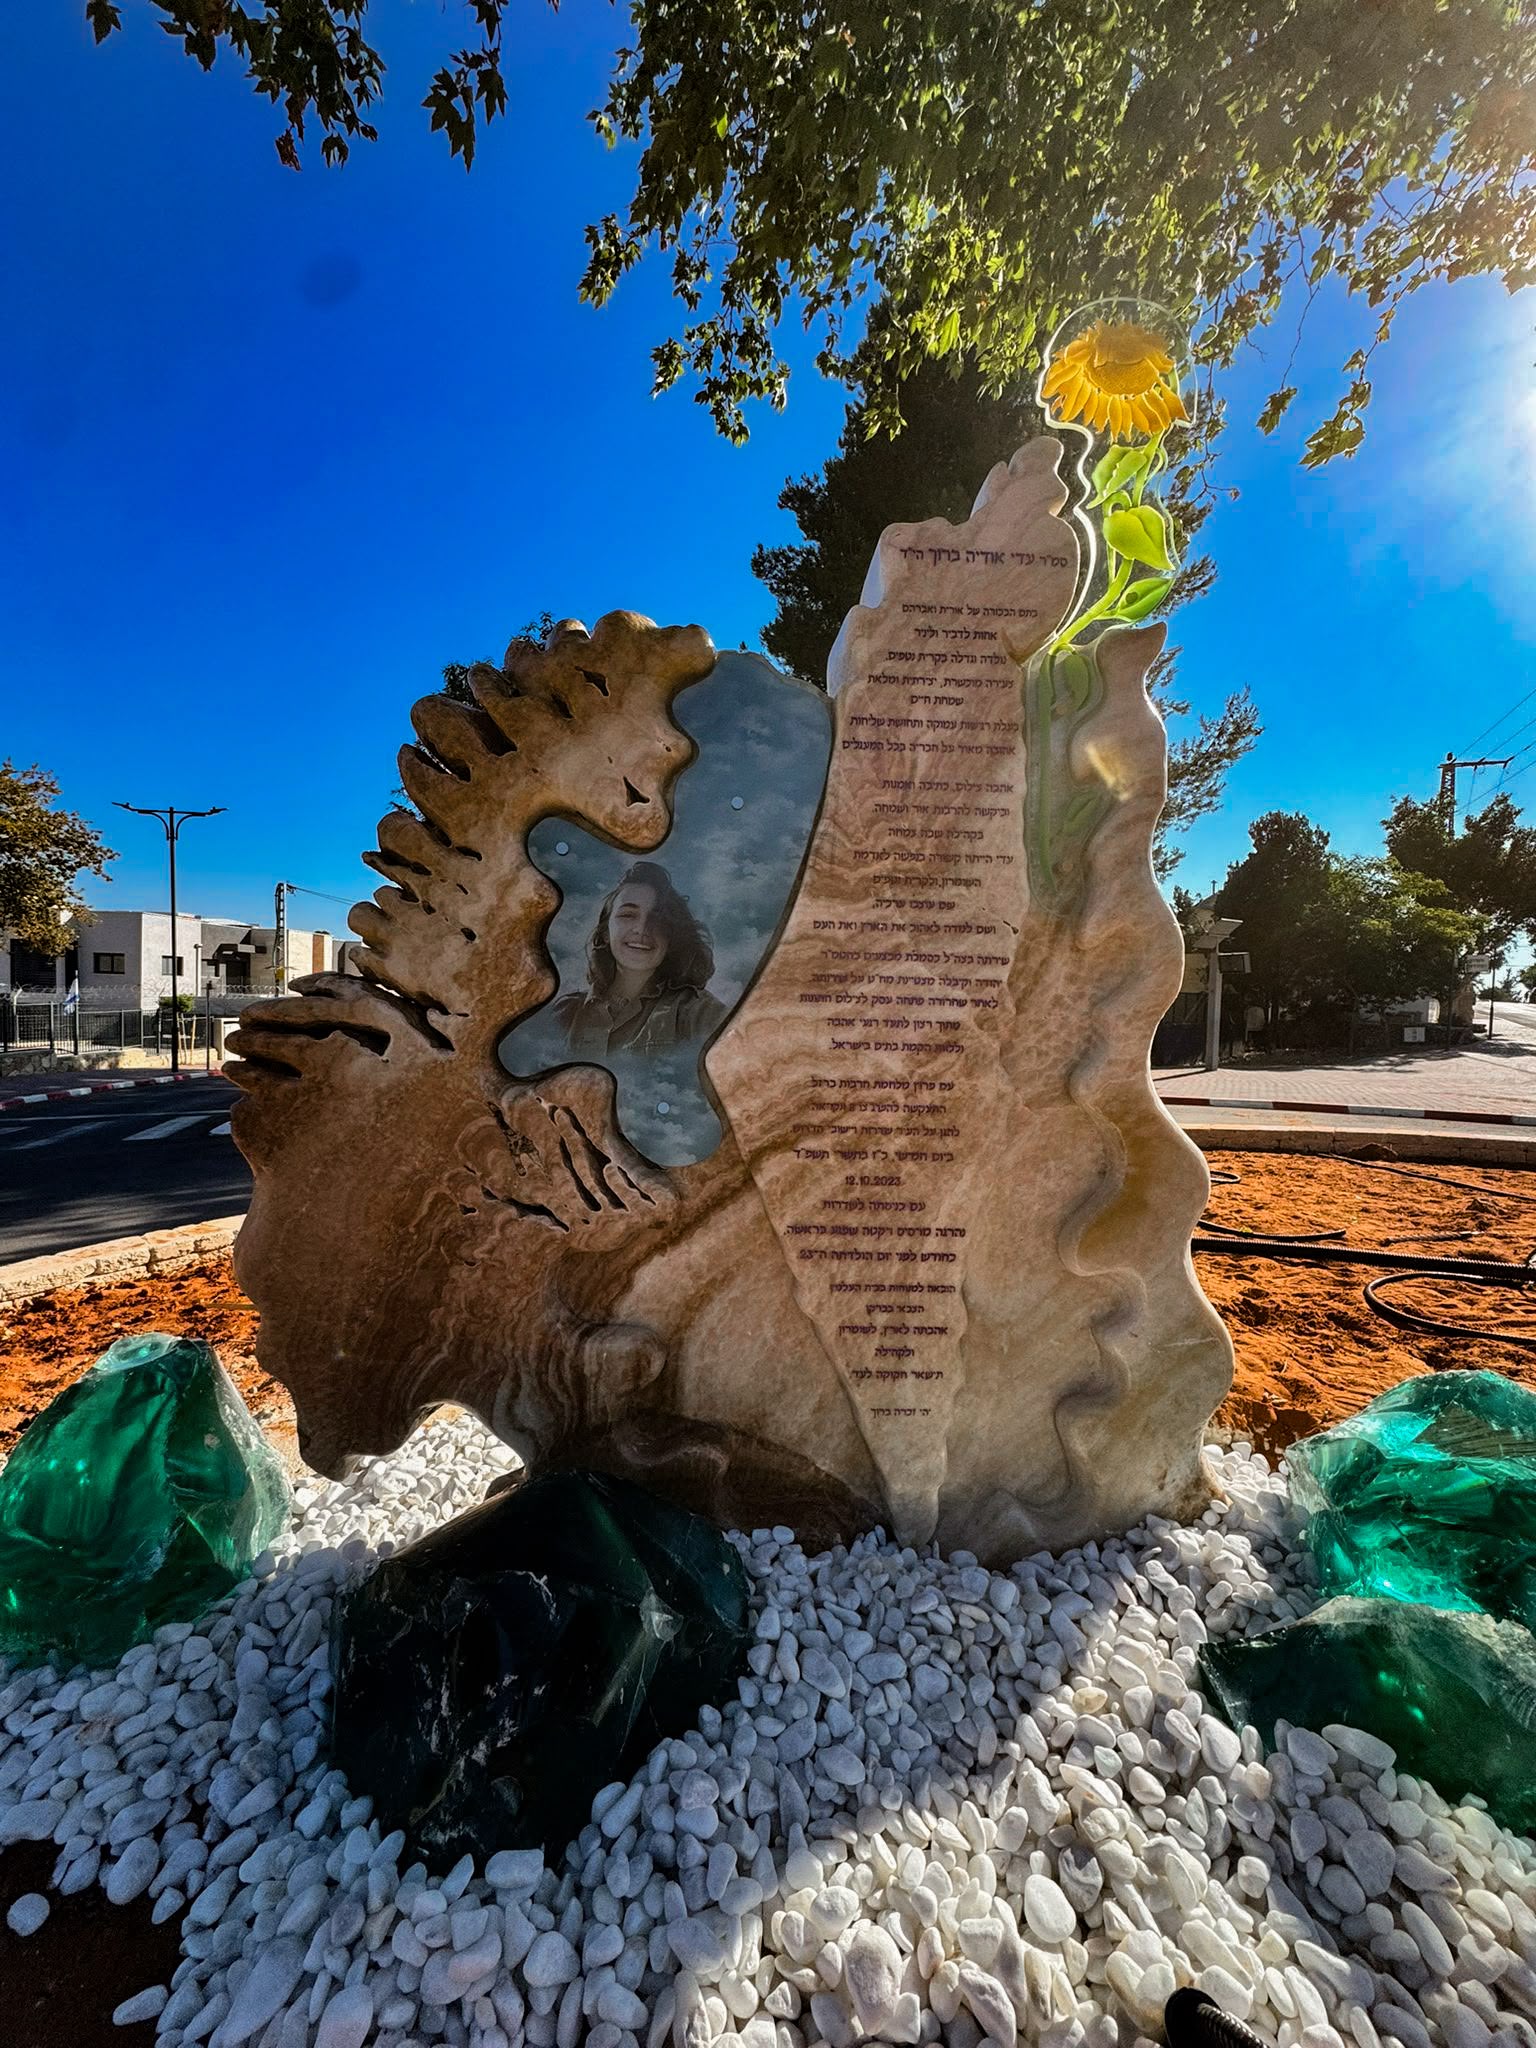
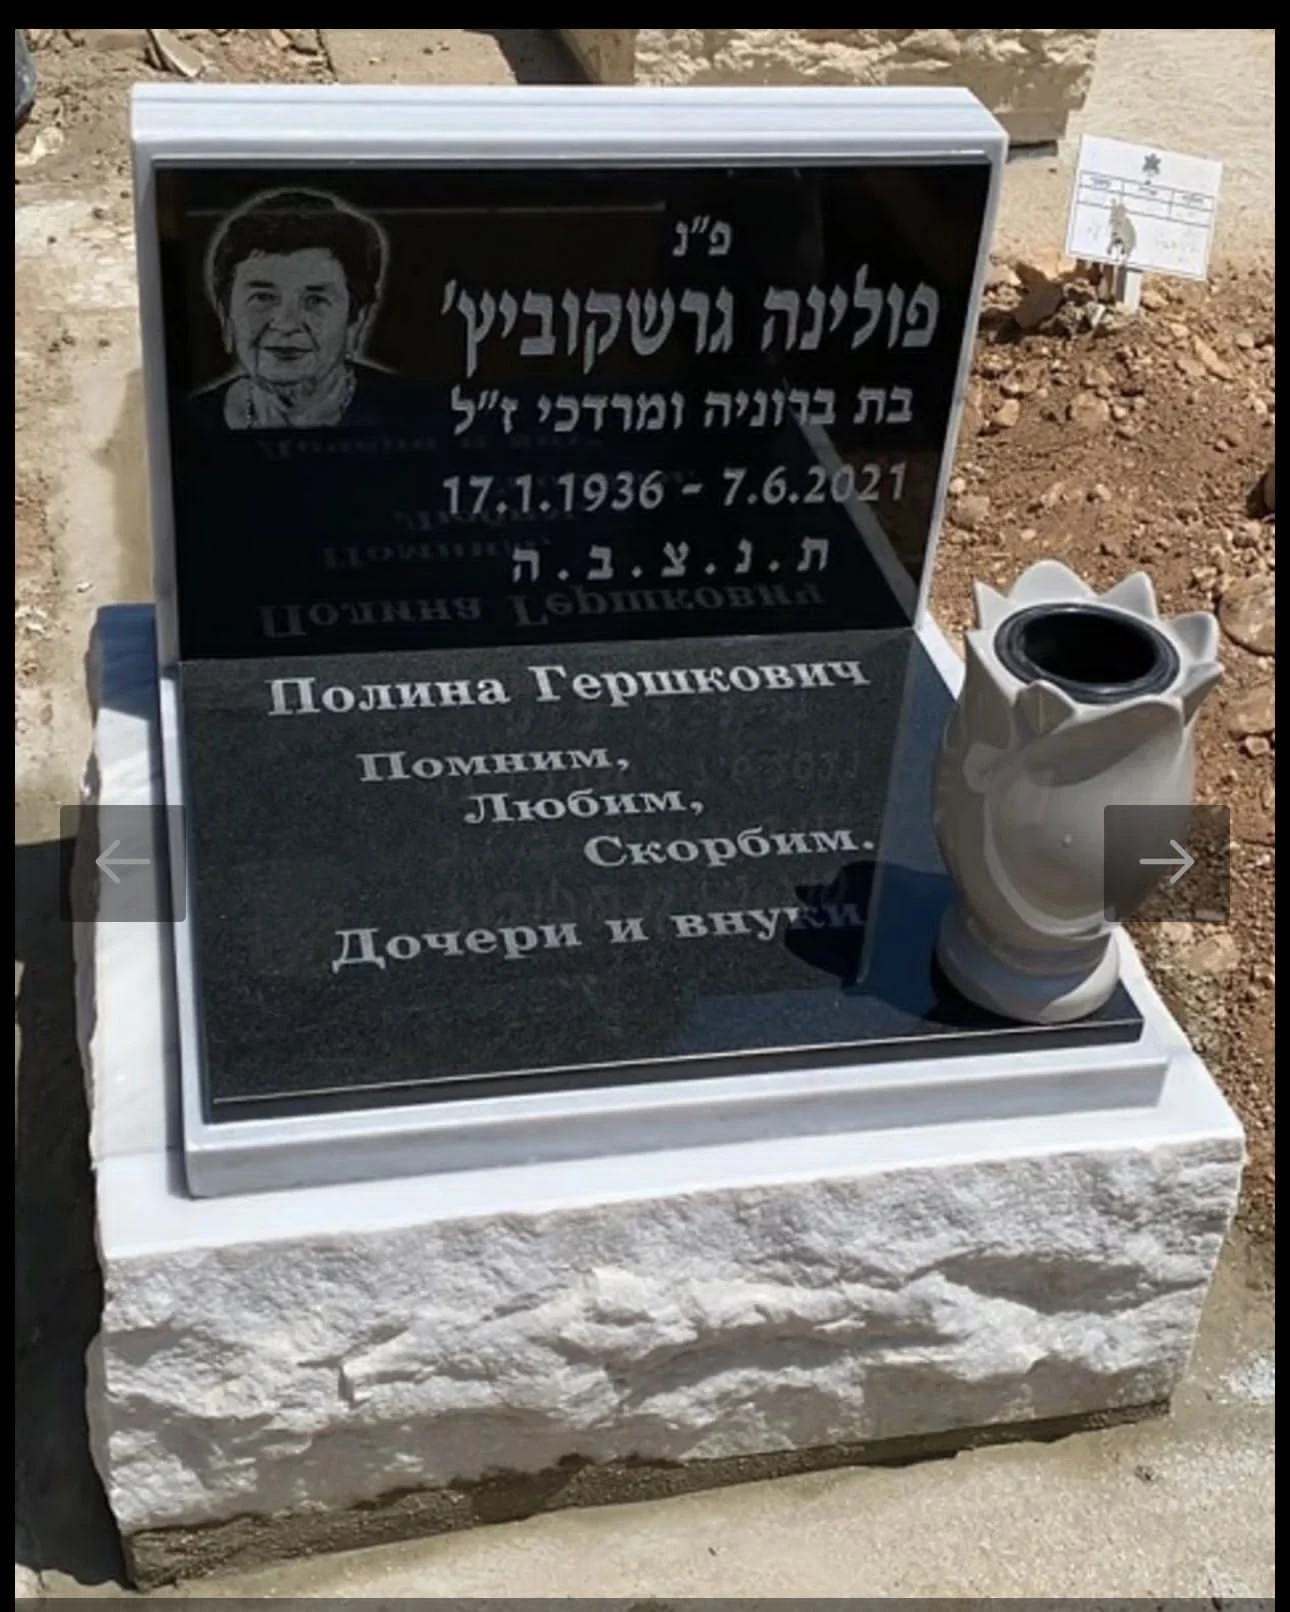
The photographs show different ways to place a portrait within the complete design. A photograph cannot establish the precise manufacturing method, so captions describe only what is visible. If you like an example, bring it to the design discussion and request specifications suited to your headstone rather than inferring technical details from appearance alone.
Engraved Portraits: Stone Becomes Part of the Image
For a portrait made directly on stone, colour, consistency and finish all affect the result. Trotec's technical guidance on stone engraving — opens in a new window explains that stones respond differently and that a smooth surface and a suitable process matter for detail. Light or strongly patterned stone may need a different approach from dark, uniform material. Do not choose a technique from the trade name alone.
Consider how the portrait will look from a visitor’s usual distance. Fine detail may disappear into the stone’s texture. Simplifying the background while preserving the face can improve clarity. Ask for a sample made with the relevant material and technique, and view it without dramatic lighting. The expression should remain recognisable in everyday conditions.
Clarify whether the portrait is made directly on the headstone or on a separate plaque, whether colour is added and how it relates to the lettering. Different solutions also allow different approaches to future restoration or replacement. Ask before production so the family understands what can be changed or maintained later.
Ceramic and Porcelain: A Portrait within the Stonework
A ceramic or porcelain portrait can be a separate oval, round or rectangular piece. Choose the shape to suit the photograph: an oval works with some crops, while a rectangle can retain more of the shoulders or background. Look at how the face sits within the shape before deciding. Review the portrait in the complete headstone design, rather than only as a small plaque on its own.
“Ceramic portrait” is not a complete product specification. Products and manufacturing methods vary, so ask how the proposed piece is made and whether it is suitable for outdoor use. For example, Photo-Ceramica describes a porcelain-firing process for its products; this does not mean that every printed image or ceramic product is made in the same way. Check the warranty for the specific product and its installation, rather than relying on a general promise.
Look at the margins, frame, background around the face and the transition to the stone. Broad margins change the ratio between plaque and portrait, and gloss looks different in daylight. Ask how the piece is attached, cleaned and replaced if necessary. Agree these details with the supplier and installer; this is not a guide to attaching an accessory yourself.
Glass: Consider the Image and Its Background
Glass can be a subtle layer or the centrepiece, but “a photograph on glass” covers different products. Techniques may produce transparent, opaque or mixed effects. Ask what is being offered, how the image is protected and what specification suits the exposure and position. A visualisation against an ideal background is not enough.
The background matters especially with glass. A portrait that is clear against a dark surface may look different against a bright sky, plants or patterned stone. Check reflections, the light’s direction and what shows through transparent areas. Where possible, view a sample in comparable conditions to judge how the face, stone and surroundings work together.
Edges, fixings, support and cleaning access also need designing. These concern the product and professional installation, not just graphics. On an existing headstone, check space and cemetery requirements. Ourheadstone catalogue offers design directions to explore alongside the stone before developing a specification for your project.
Editing the Photograph: Clarity without Losing Expression
Editing helps a photograph work at the chosen size and in the chosen material. Exposure correction, repair of a damaged print, cropping or a quieter background may help. Changes to the eyes, mouth or facial structure can alter the familiar expression, however. Agree what may change and what must stay, and compare the edited version with the original.
Restoration and AI tools may invent details that were unclear in the original. A sharper result does not prove those details are accurate. Do not approve an image only because it looks impressive when enlarged. Check the likeness and compare other photographs if necessary. A less detailed portrait with the familiar expression is preferable to a sharp one that no longer feels like the person.
Label working and approved versions clearly. If several relatives comment, collect and resolve their feedback before requesting another revision. A small background adjustment may be simple; a new crop or a change from colour to greyscale can alter the whole composition. Every significant change should appear in the final proof approved for production.
Placement, Size and the Inscription
The portrait belongs with the name and dates. It can sit beside or above the inscription, or within a larger visual story, but the composition needs a clear order. Consider what catches the eye first and how the viewer moves between image and words. Leave breathing room; do not squeeze the wording into a corner simply to enlarge the portrait. A long text may need shortening or a different layout.
Ask for a layout at the intended size and assess it from reading distance. A portrait that looks large on screen can seem very small within a full headstone, while excessive enlargement exposes limitations in the source. Compare two or three sizes within the same layout, keeping the picture and wording constant so you can tell what influenced your choice.
For a couple or several people, balance the portraits respectfully. Photographs taken in different conditions need not be made to look as though they were taken together. Consistent sizes, borders and spacing can unite them while preserving each image's character. For wording and layout approval, see the headstone inscription guide.
Before You Send Your Photograph
- Send the best source you have, not a screenshot of a reduced copy. If there is no better original, say so rather than disguising the limitation through editing.
- Check that reflections in glasses, deep shadow or an accidental crop do not obscure important facial details. Send an alternative for assessment rather than guessing what can be repaired.
- Identify the person in a group photograph, but also send the full file for accurate cropping.
- Include the intended design and approximate size if known, plus a photograph of an existing headstone when adding a portrait.
- Agree within the family which photograph is chosen and who approves edits. Confirm the right to use it in this project.
- Keep an original beside every edited version and clearly identify the final approved file.
If you are unsure about image quality, send it for an early assessment before deciding on size and technique. Another crop, a different photograph from the same occasion or a better scan may solve the problem. The aim is to let the family see what can be achieved before committing to production.
Approval Stages: From a Cherished Photograph to a Permanent Portrait
- Select the original. Share several relevant photographs, explain what you like and assess quality. Choose the main image before detailed editing.
- Prepare the image. Review the crop, background, colour and details against the original, keeping the face recognisable. Record the agreed changes and chosen version.
- Choose the material and product. See a relevant sample and check technique, outdoor conditions and fixings. A screen preview cannot replace a physical sample or product specifications.
- Approve the full layout. Approve the portrait together with the name, dates and wording at the agreed dimensions. Clearly specify the image file and design version to be produced.
- Check at handover. Compare the result with the specification and final approval, checking placement and appearance. Obtain cleaning instructions, warranty terms and a contact for future questions.
At each stage, know what can still change and what has already entered production. This makes decisions calmer and reduces misunderstandings. If the layout or material changes, seek approval of the complete updated design. Even when the face is unchanged, size and background can alter the result.
Cost, Care and Adding a Portrait Later
The cost of a headstone portrait depends on the source image, editing, size, material, production method and installation. Compare equivalent products and work, not just a price labelled “photo”. Request a breakdown covering the portrait, editing, agreed revision rounds and attachment. Any preparation of an existing stone should be listed separately.
For an existing headstone, start with photographs and an inspection of the proposed position. Do not assume that any free space can take a portrait or that a separately purchased product can simply be attached. Shape, finish, surface condition and cemetery rules all matter. The result should belong to the existing design and respect its inscription, rather than merely fit the available space.
Request care instructions for the portrait and its junction with the stone. A product suitable for one surface may harm the image, colour or fixing. Keep the original image, approved version and supplier details after installation; they can help with future maintenance or replacement.
Questions about Headstone Portraits
Can we use a small, old photograph?
Possibly, but the original print or file must be assessed for the intended size and technique. A good scan, precise crop or smaller output may help. Missing detail cannot be guaranteed to be recovered, so review and approve the result before production.
Colour or black and white?
It depends on the photograph, material and overall design. Colour can preserve familiar details; greyscale can harmonise quietly with stone. View both within the full layout and choose what best preserves expression and clarity.
Is every portrait on stone laser-engraved?
You cannot tell from appearance alone. Several techniques exist, including a separate image plaque. Ask for the proposed product, method and compatibility with the stone. A gallery photograph illustrates design, not a technical specification.
Can two people from separate photographs be included?
A shared composition may be possible, but differences in lighting, angle and quality need to be assessed. Two separate portraits with a common frame can look more natural than combining them into an apparent single photograph. The family approves both the editing and the likeness before production.
Will the finished work look exactly like the visualisation?
A visualisation helps approve cropping, size and placement, but screens and physical materials render light and colour differently. Combine graphic approval with a finished sample and specification. Ask which differences to expect between the digital preview and the chosen product.
Have a photo you would like to include?
Send the original file and your design ideas. We will assess the photo and ways to include it in the stonework before production approval.
Related information
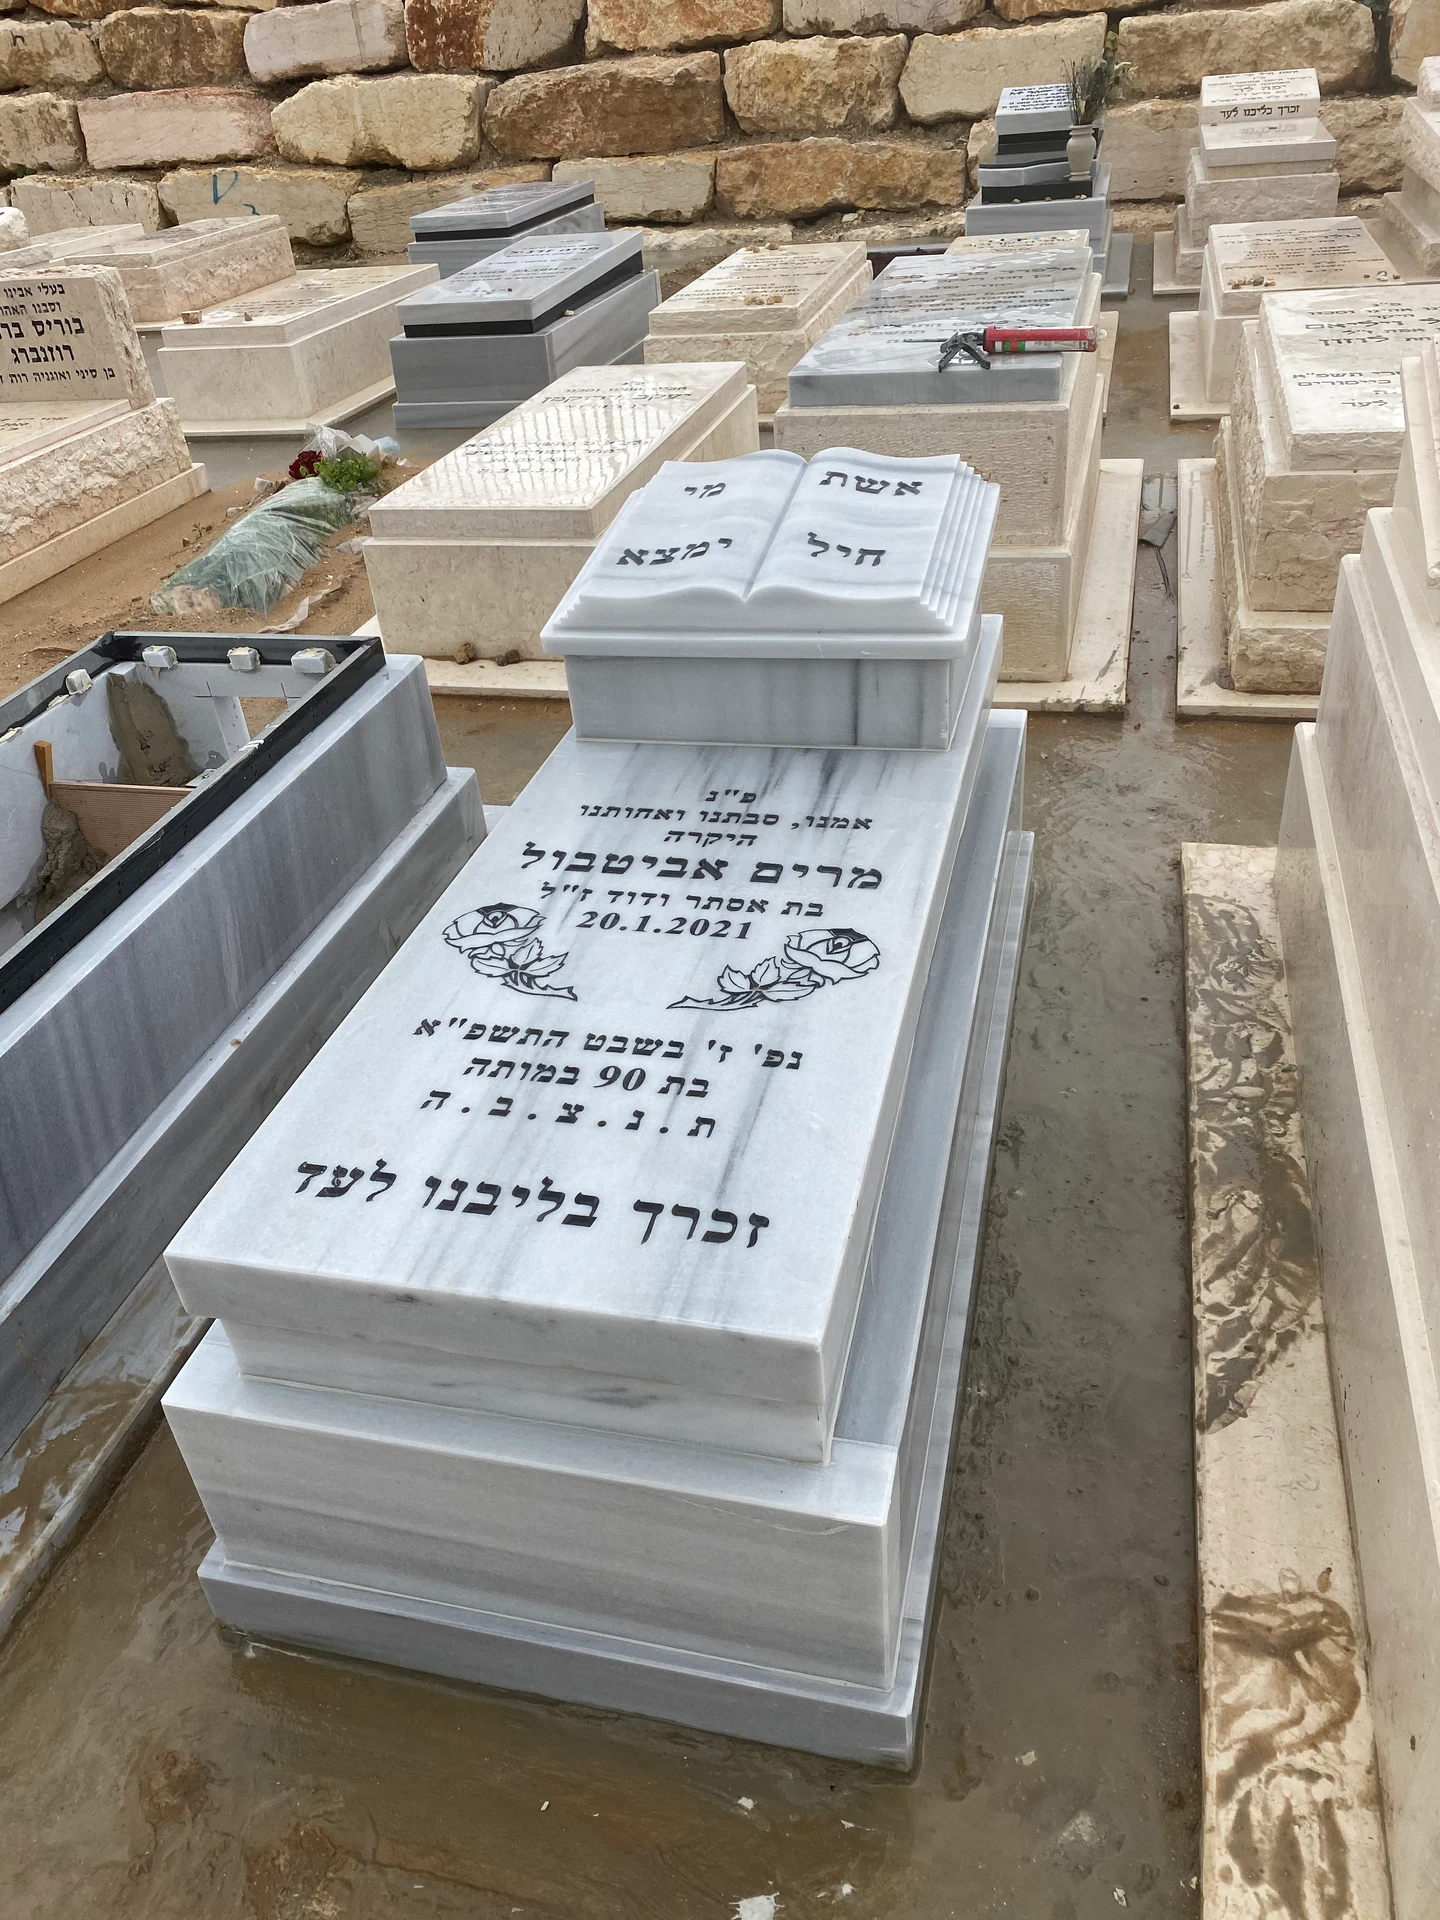
Headstone Inscriptions: Choosing and Approving the Words
What should a headstone say? Wording, names, dates, engraving and line layout, with examples for mothers, fathers and personal tributes.
Read the guide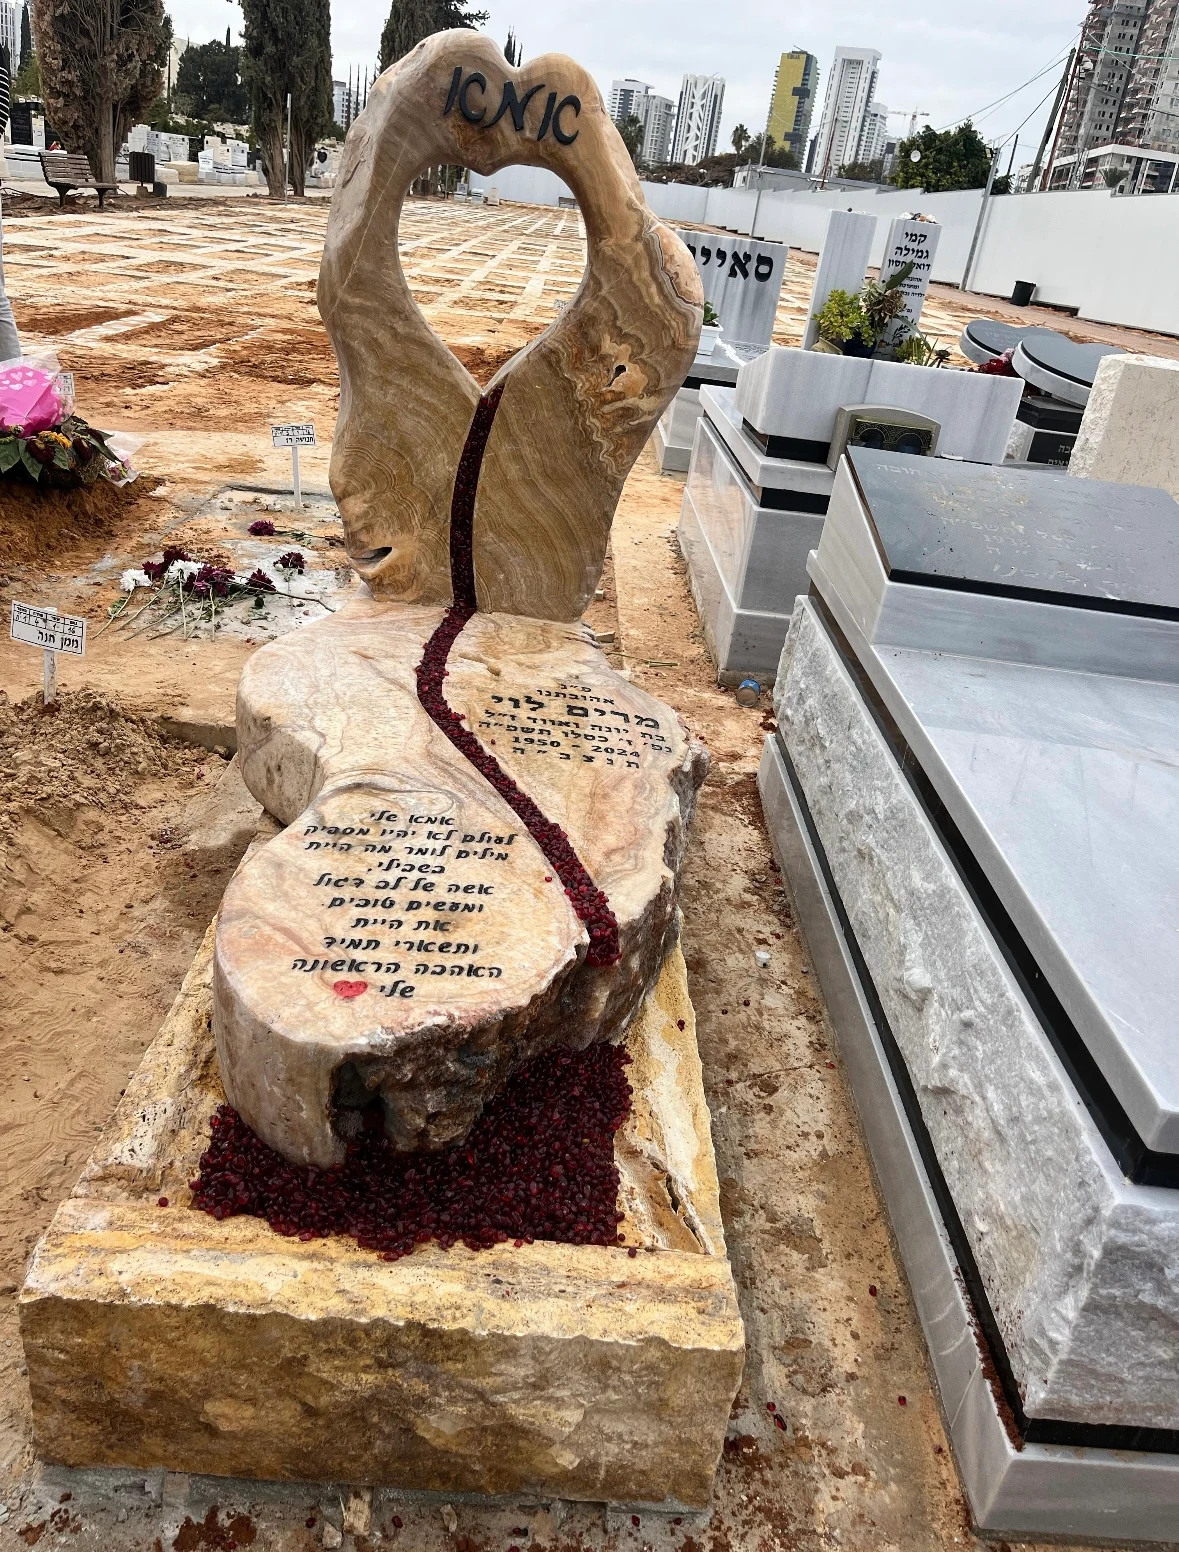
Bespoke Headstones: From a Personal Idea to a Work in Stone
Bespoke headstone design with examples from Rubi: develop an idea, combine sculpture and materials, preserve legibility and work within your budget.
Read the guide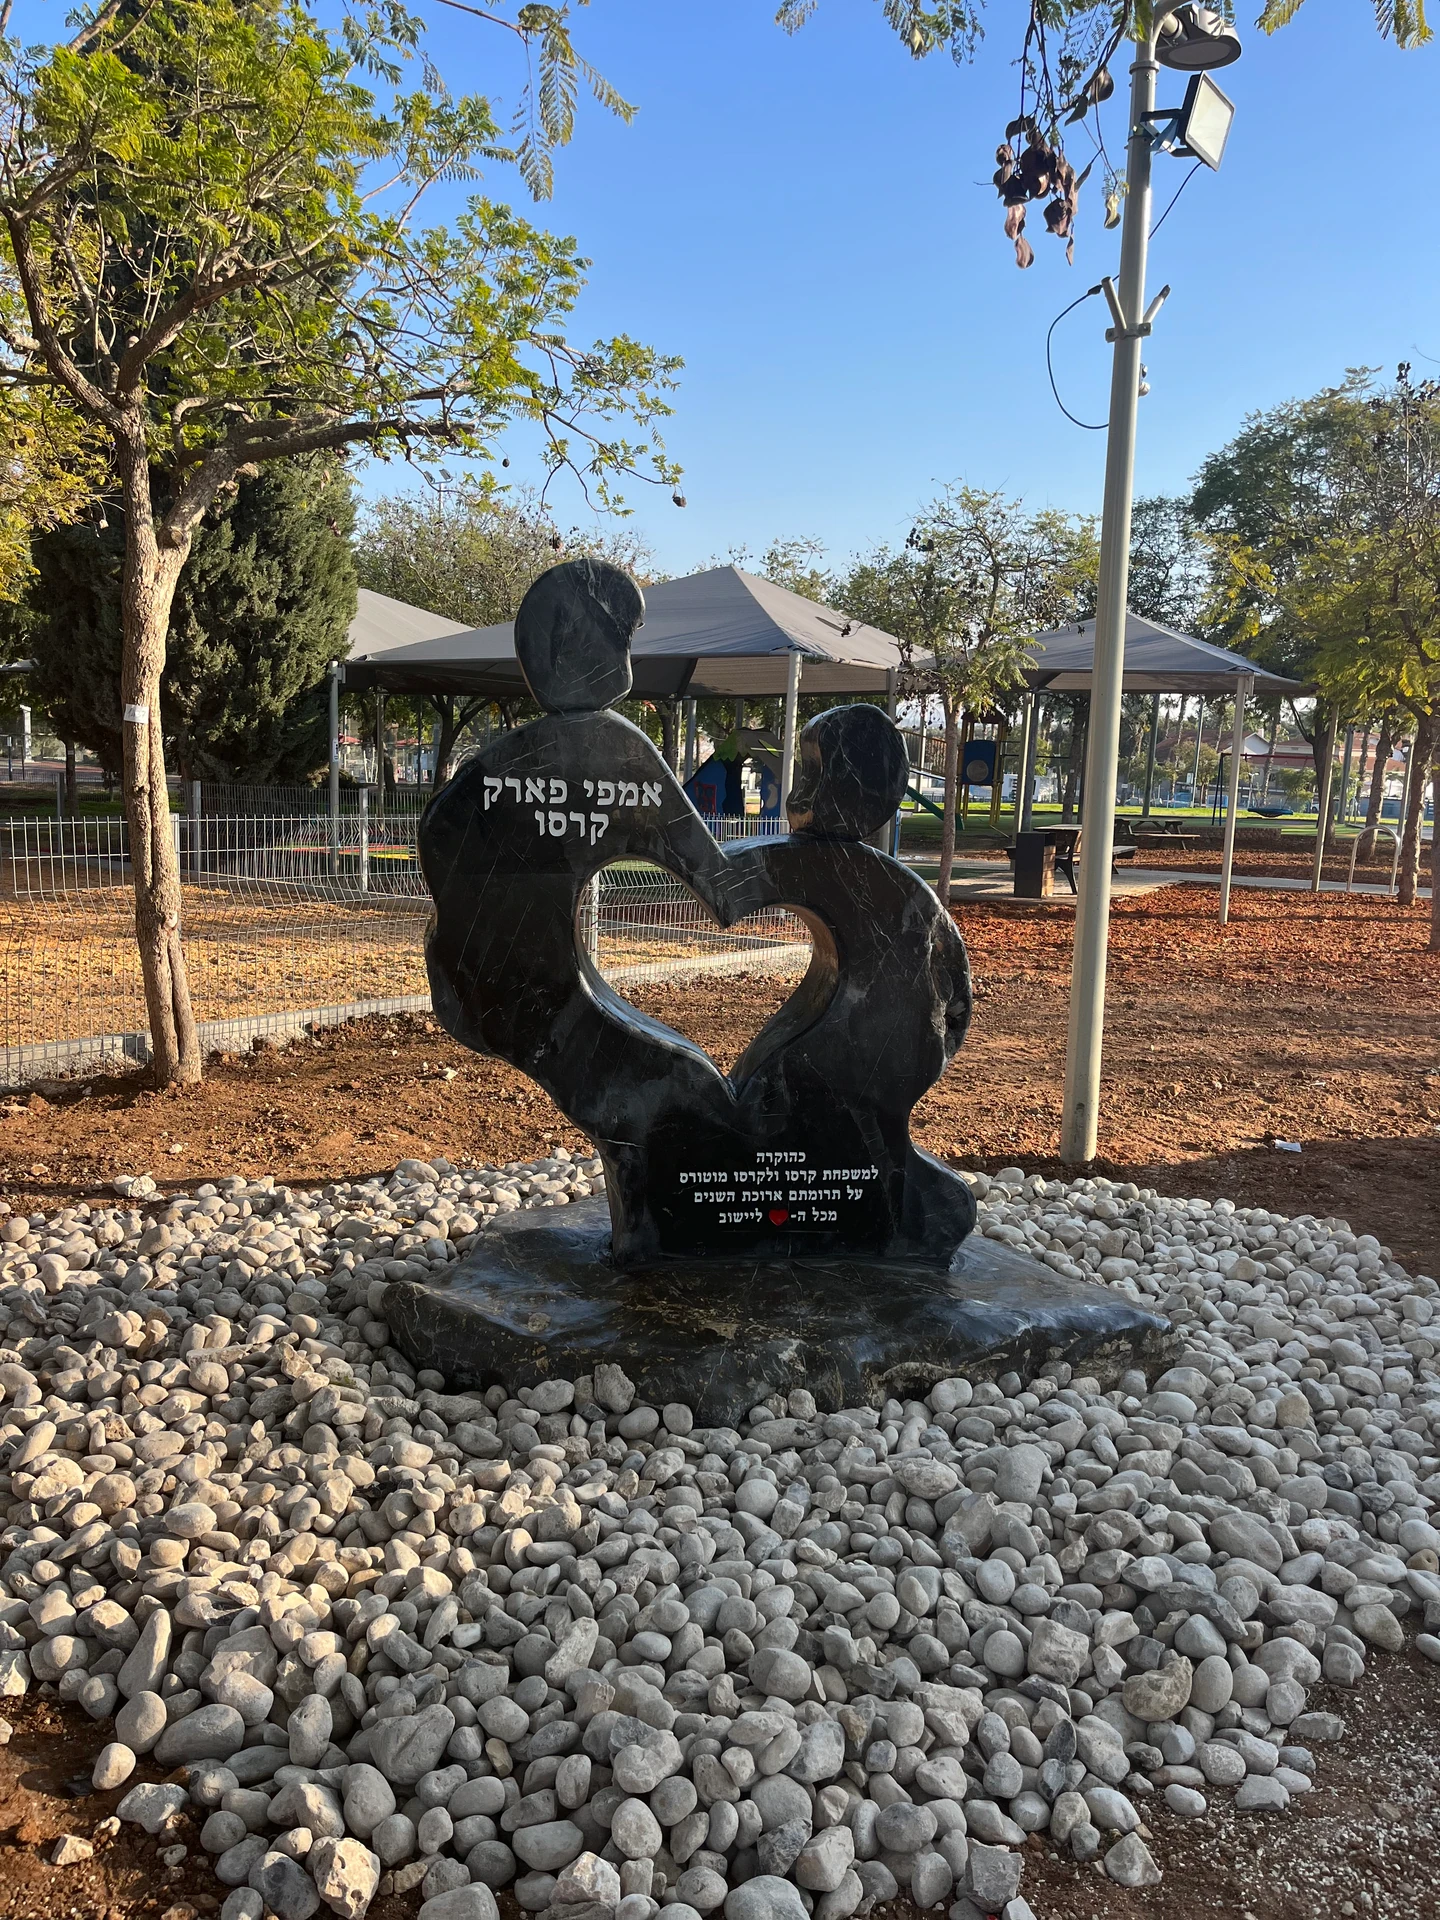
Creating a Memorial Garden or Square: A Guide for Families, Communities and Organisations
A detailed guide to creating a remembrance space or memorial square: site selection, local coordination, stone design, accessibility, wording, budget and care, with photos and a printable planning sheet.
Read the guide